
AI-Based Vendor Bill Upload
1. What is AI-Based Book Vendor Bill?
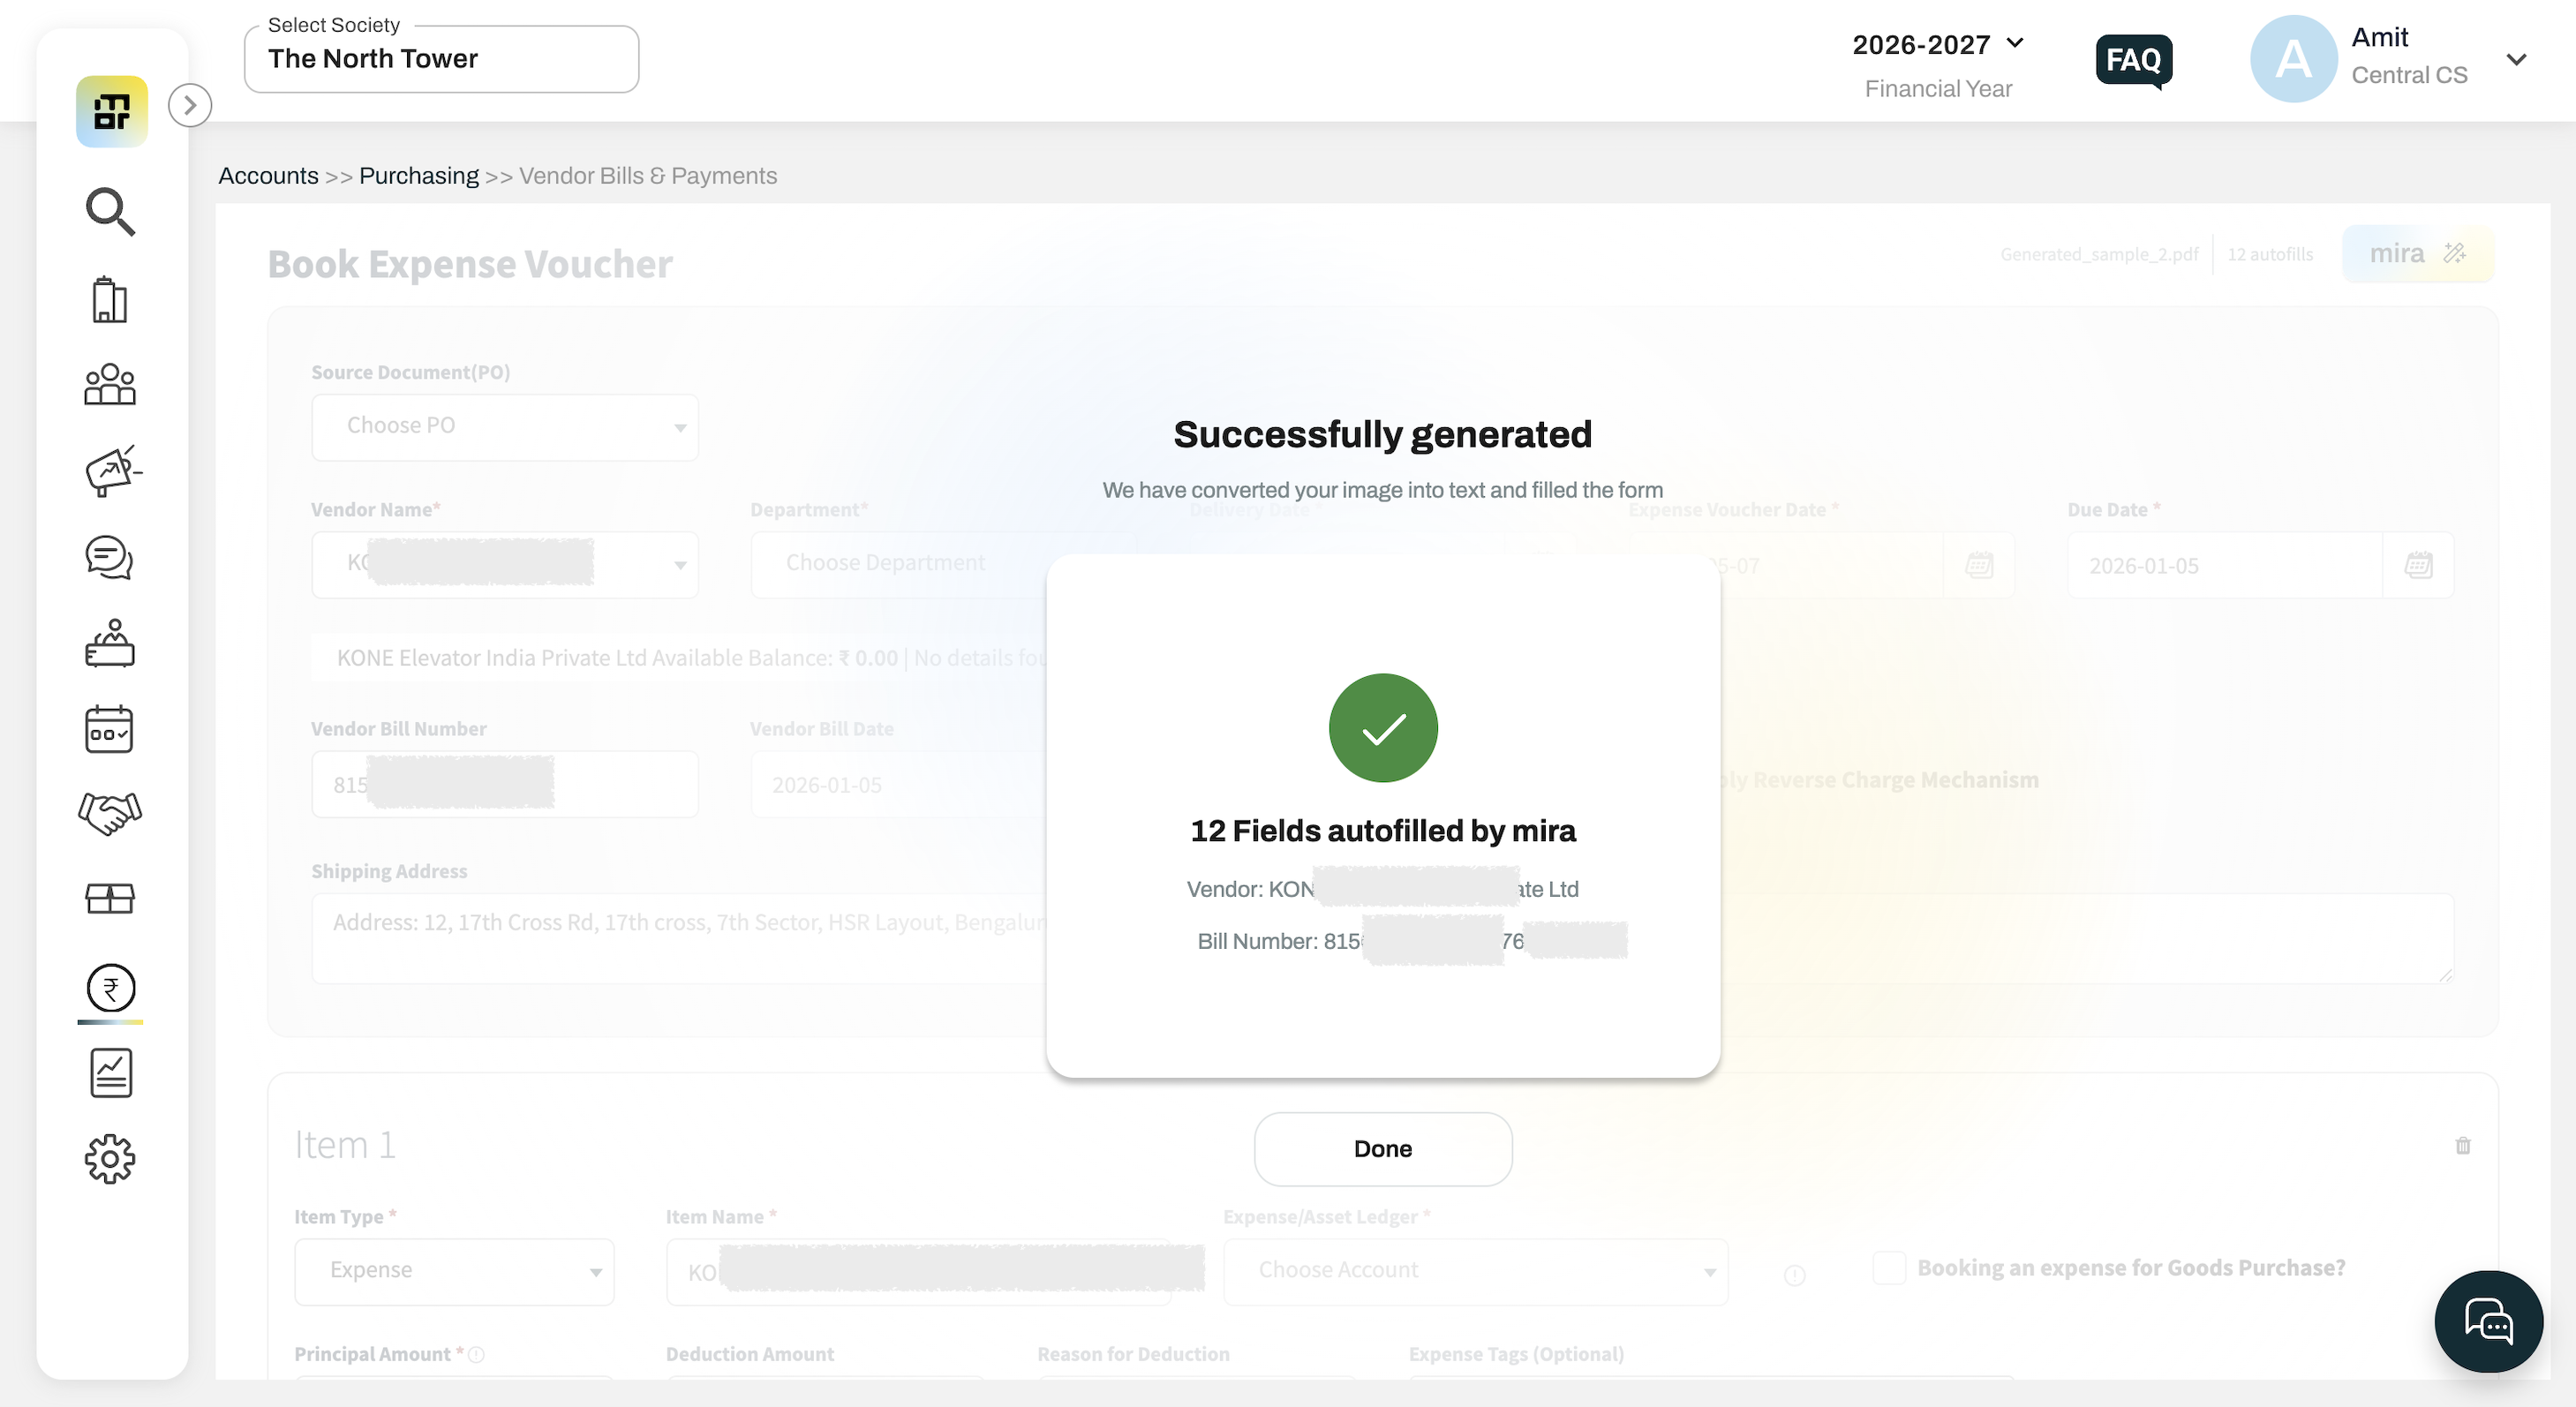
AI-Based Book Vendor Bill helps you create vendor bills by uploading a PDF or image of the vendor bill. Mira AI extracts the relevant vendor, invoice, item, and GST details and pre-fills them in the system.
2. How do I use AI-Based Book Vendor Bill?
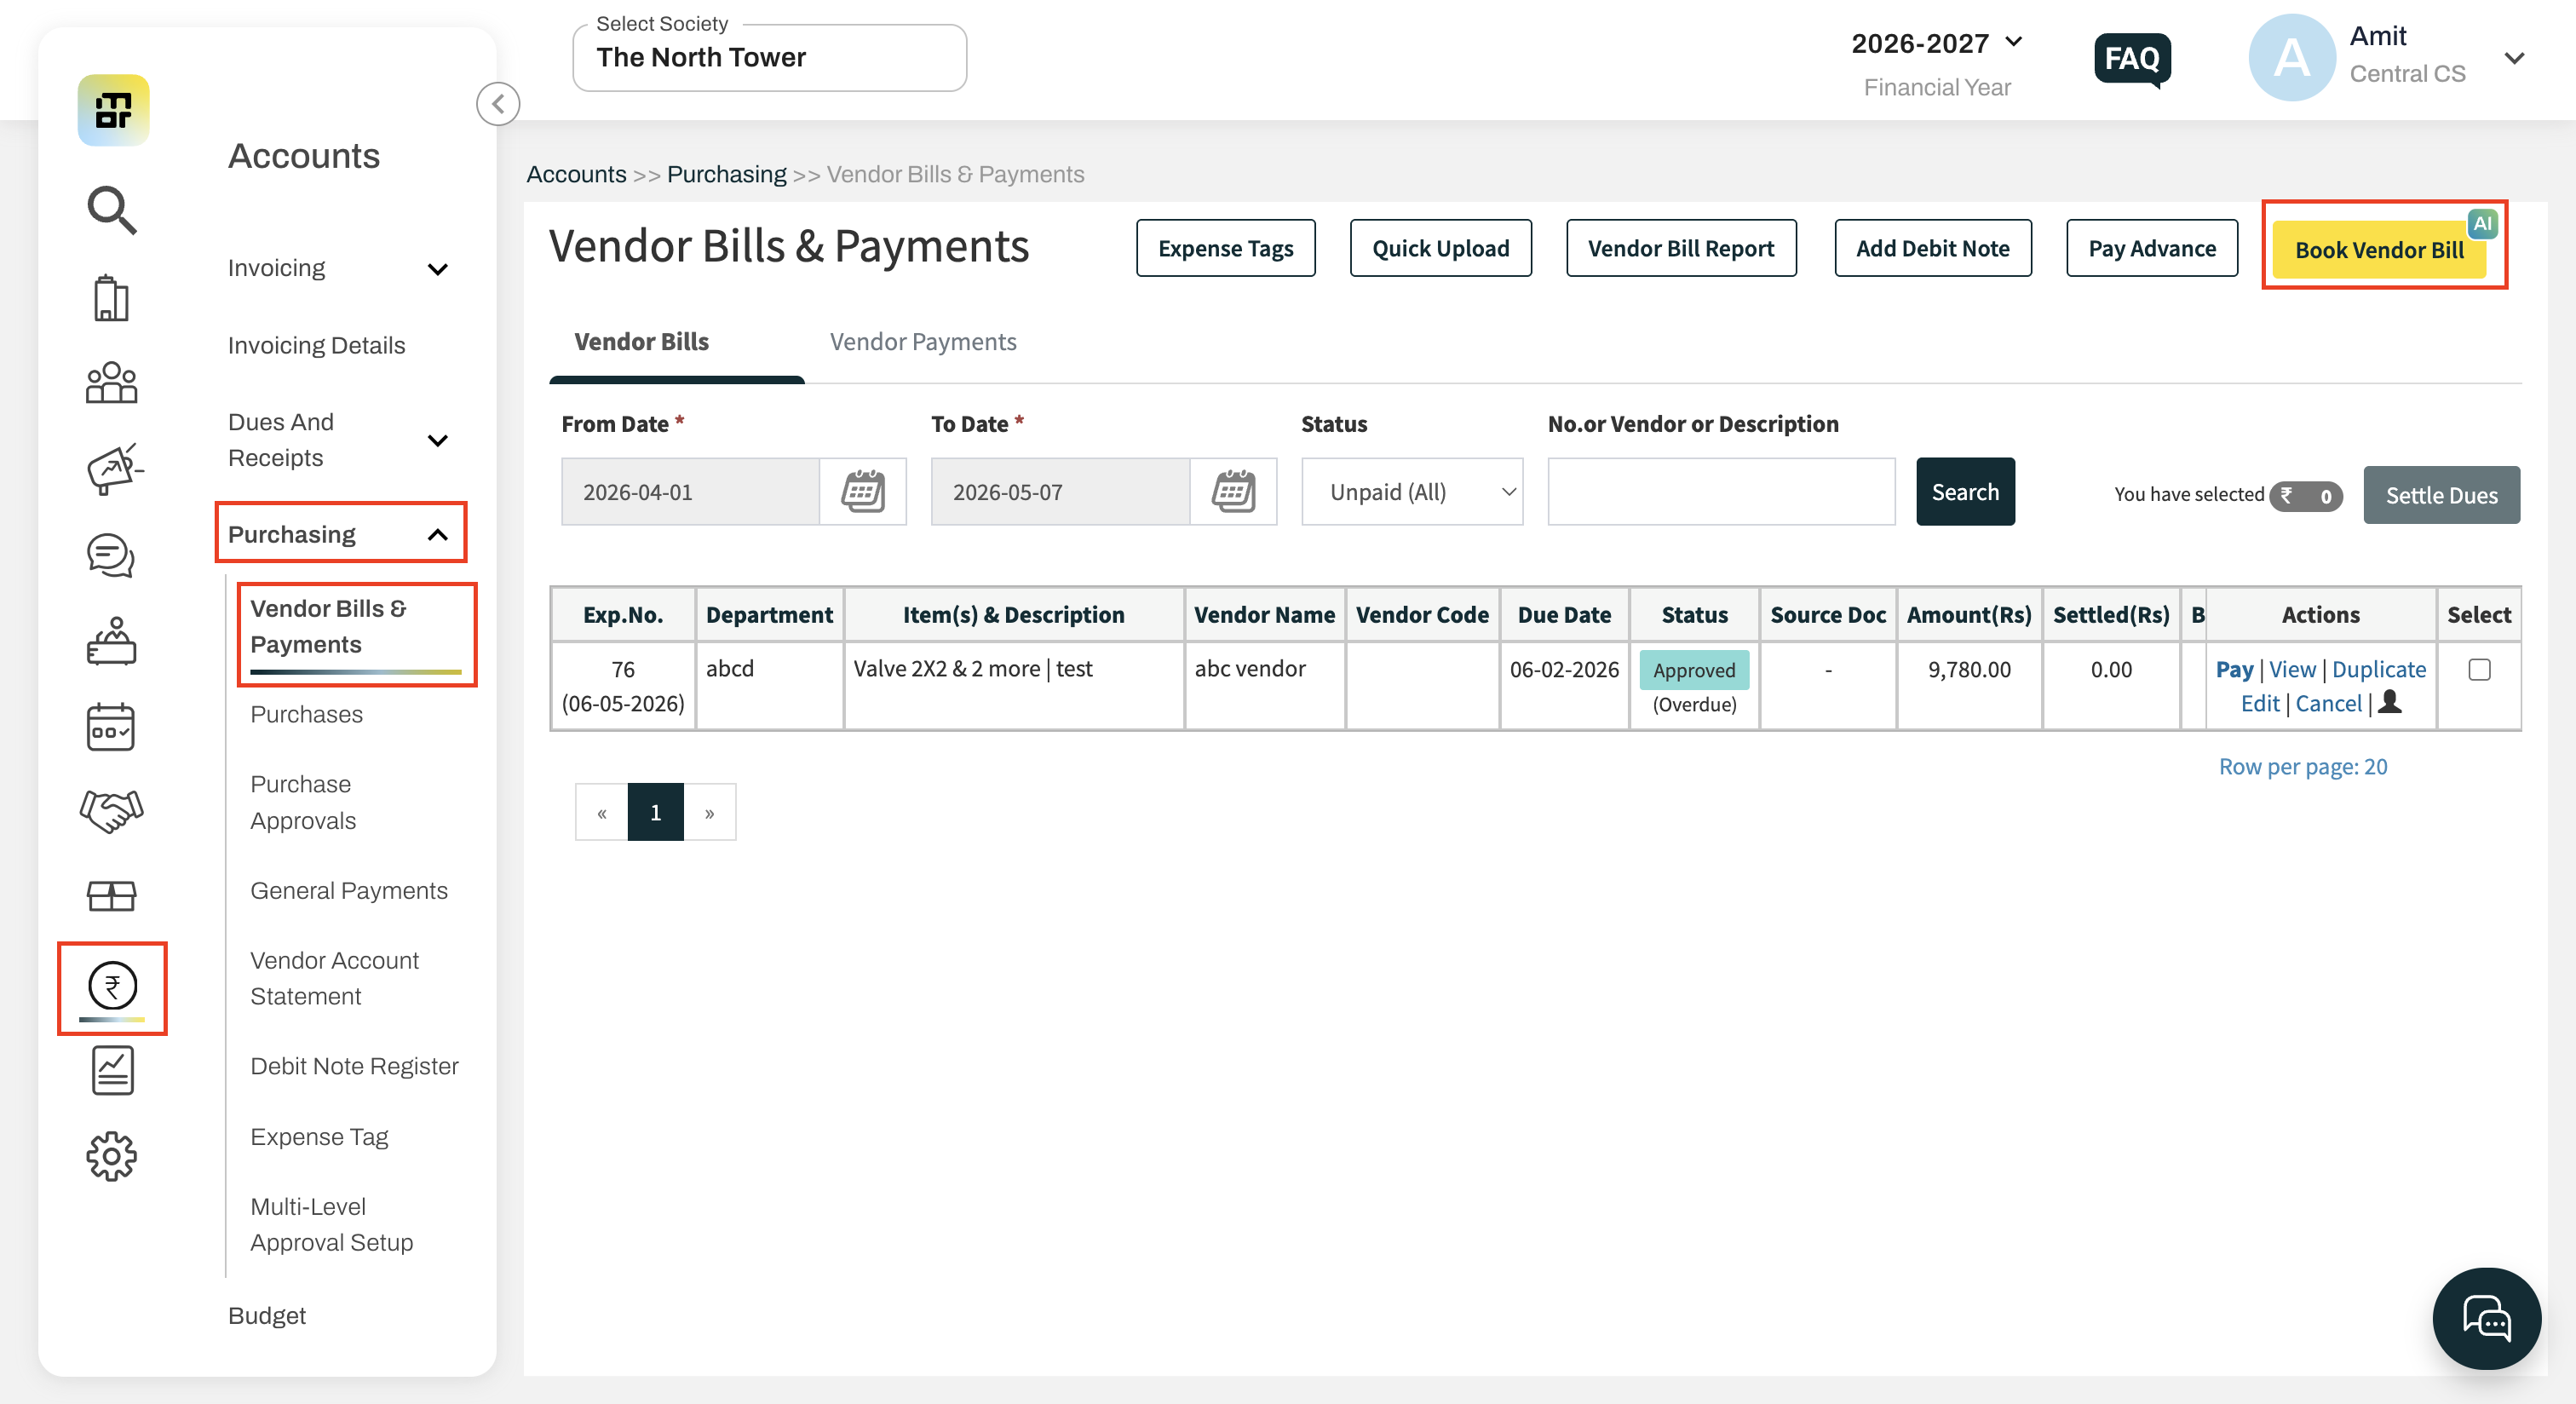
Go to Accounts >> Purchasing >> Vendor Bills & Payments >> Book Vendor Bill.
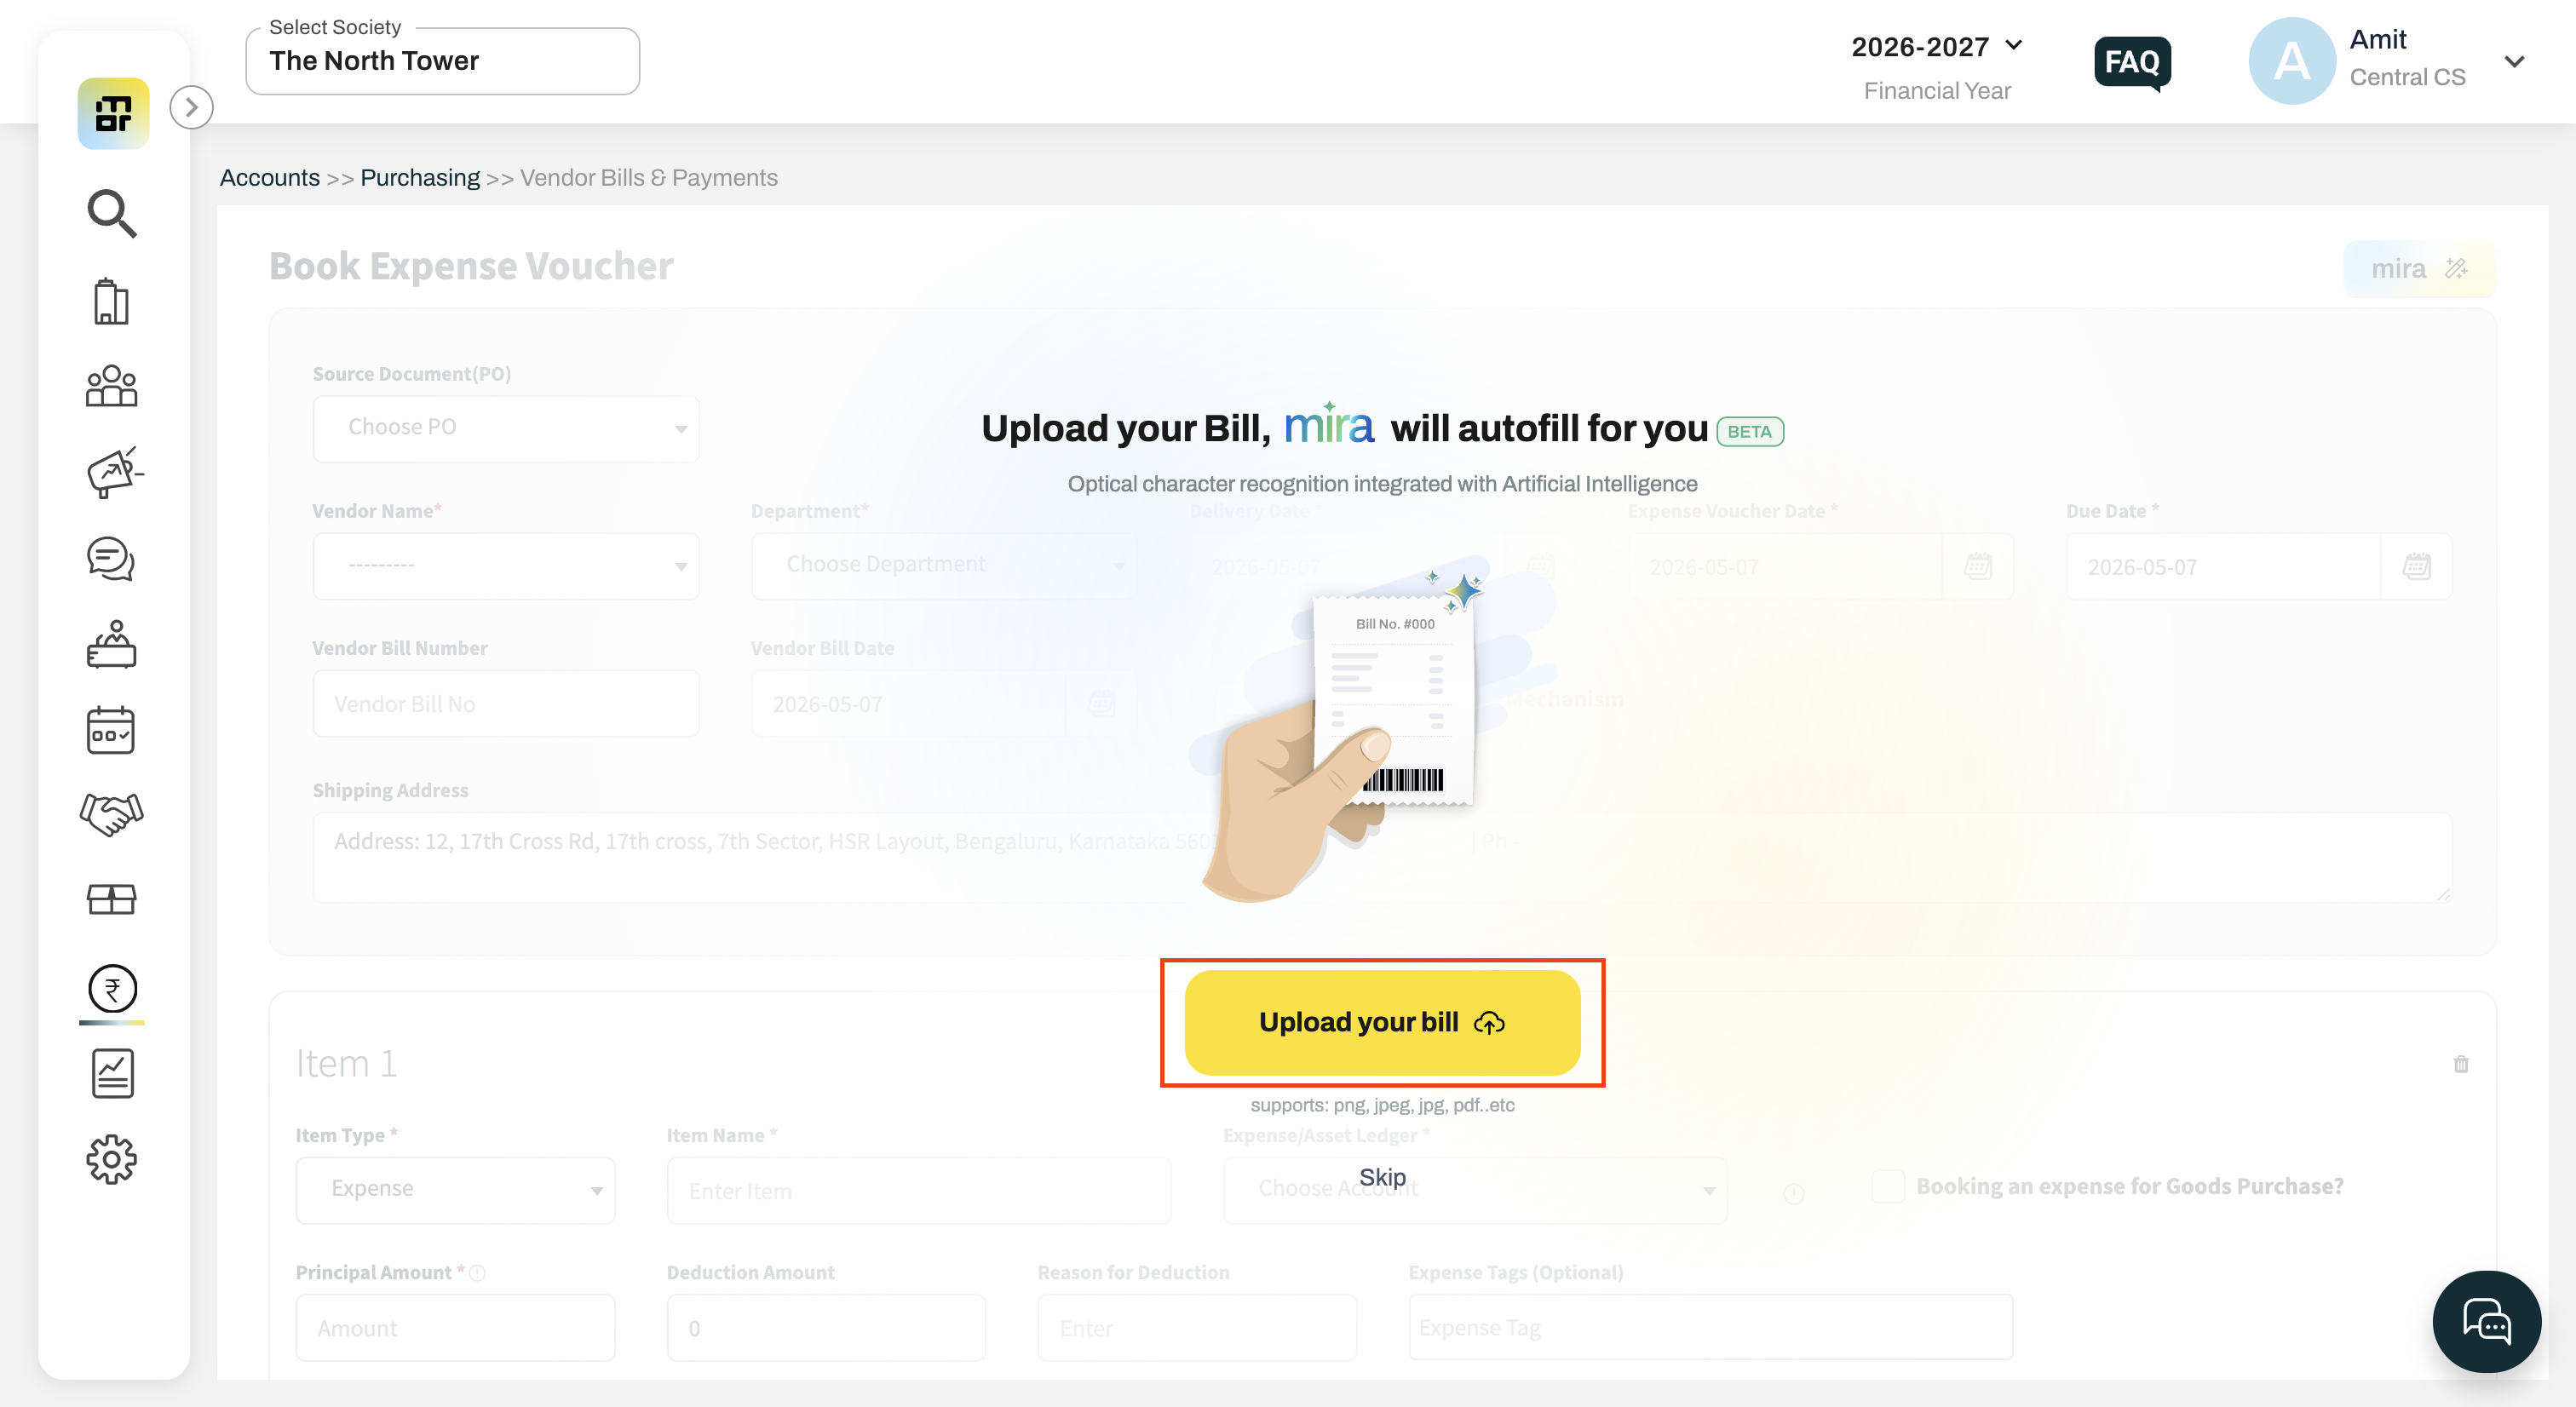
Upload a vendor bill in PDF, JPG, JPEG, or PNG format.
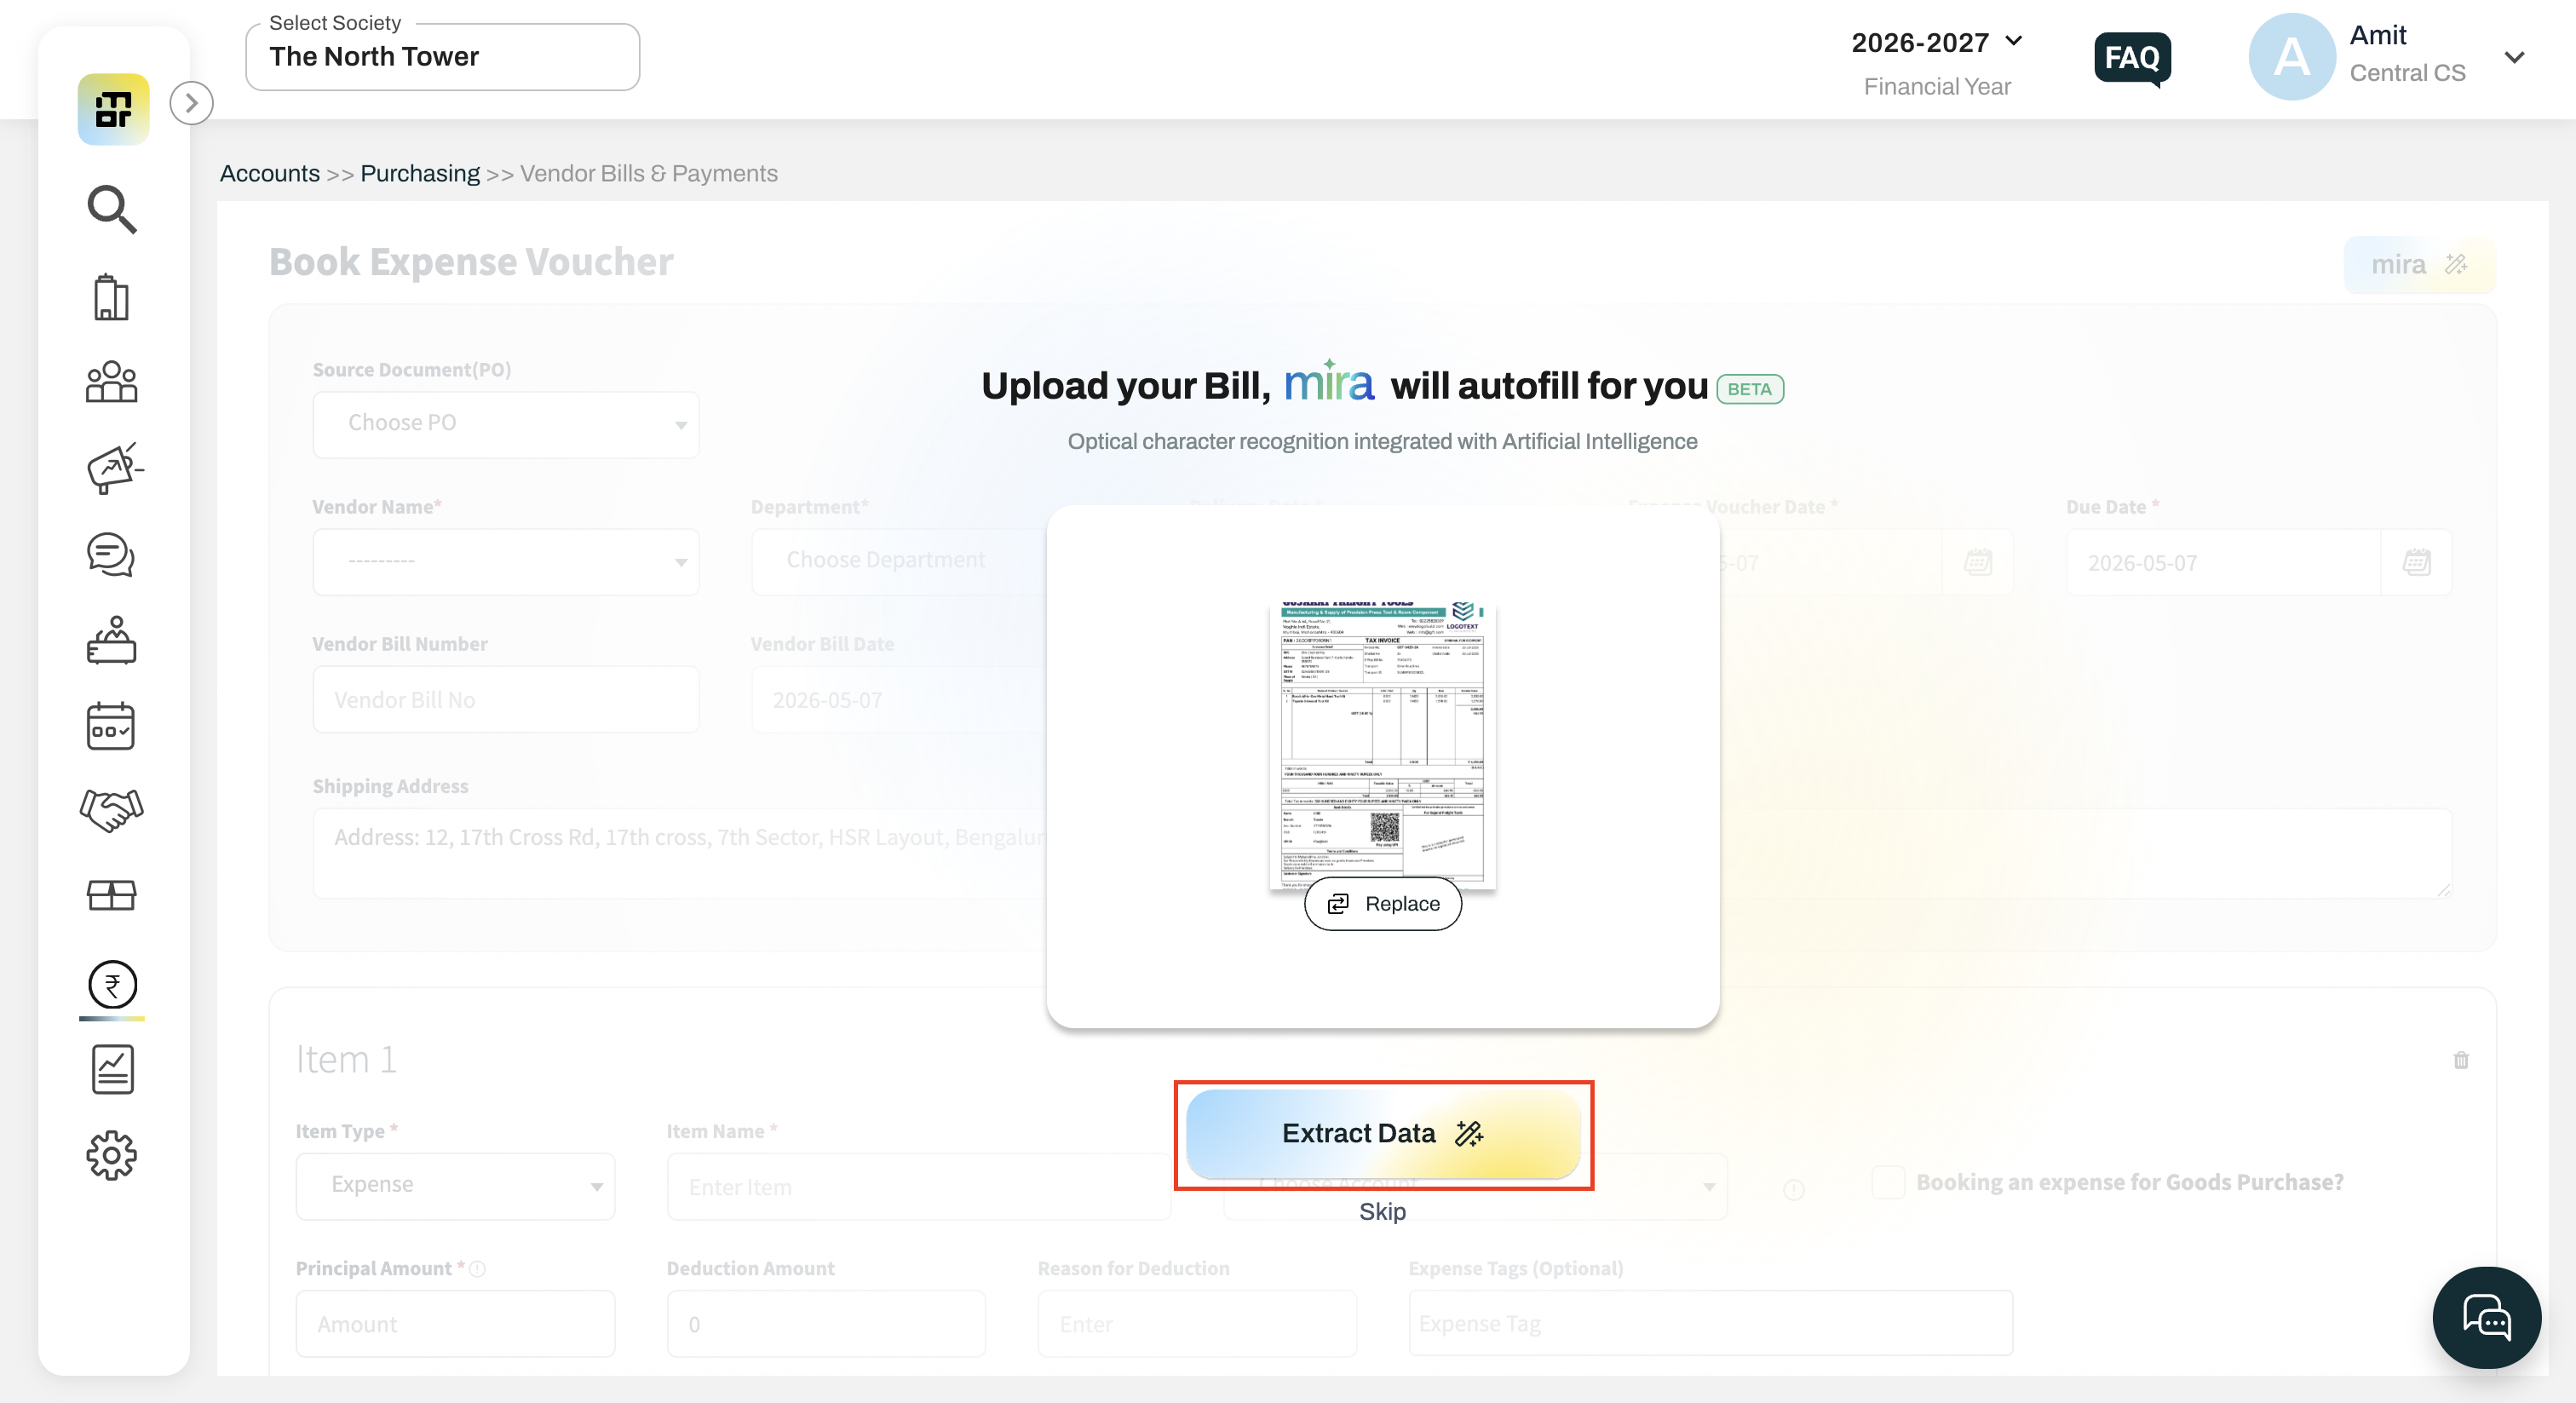
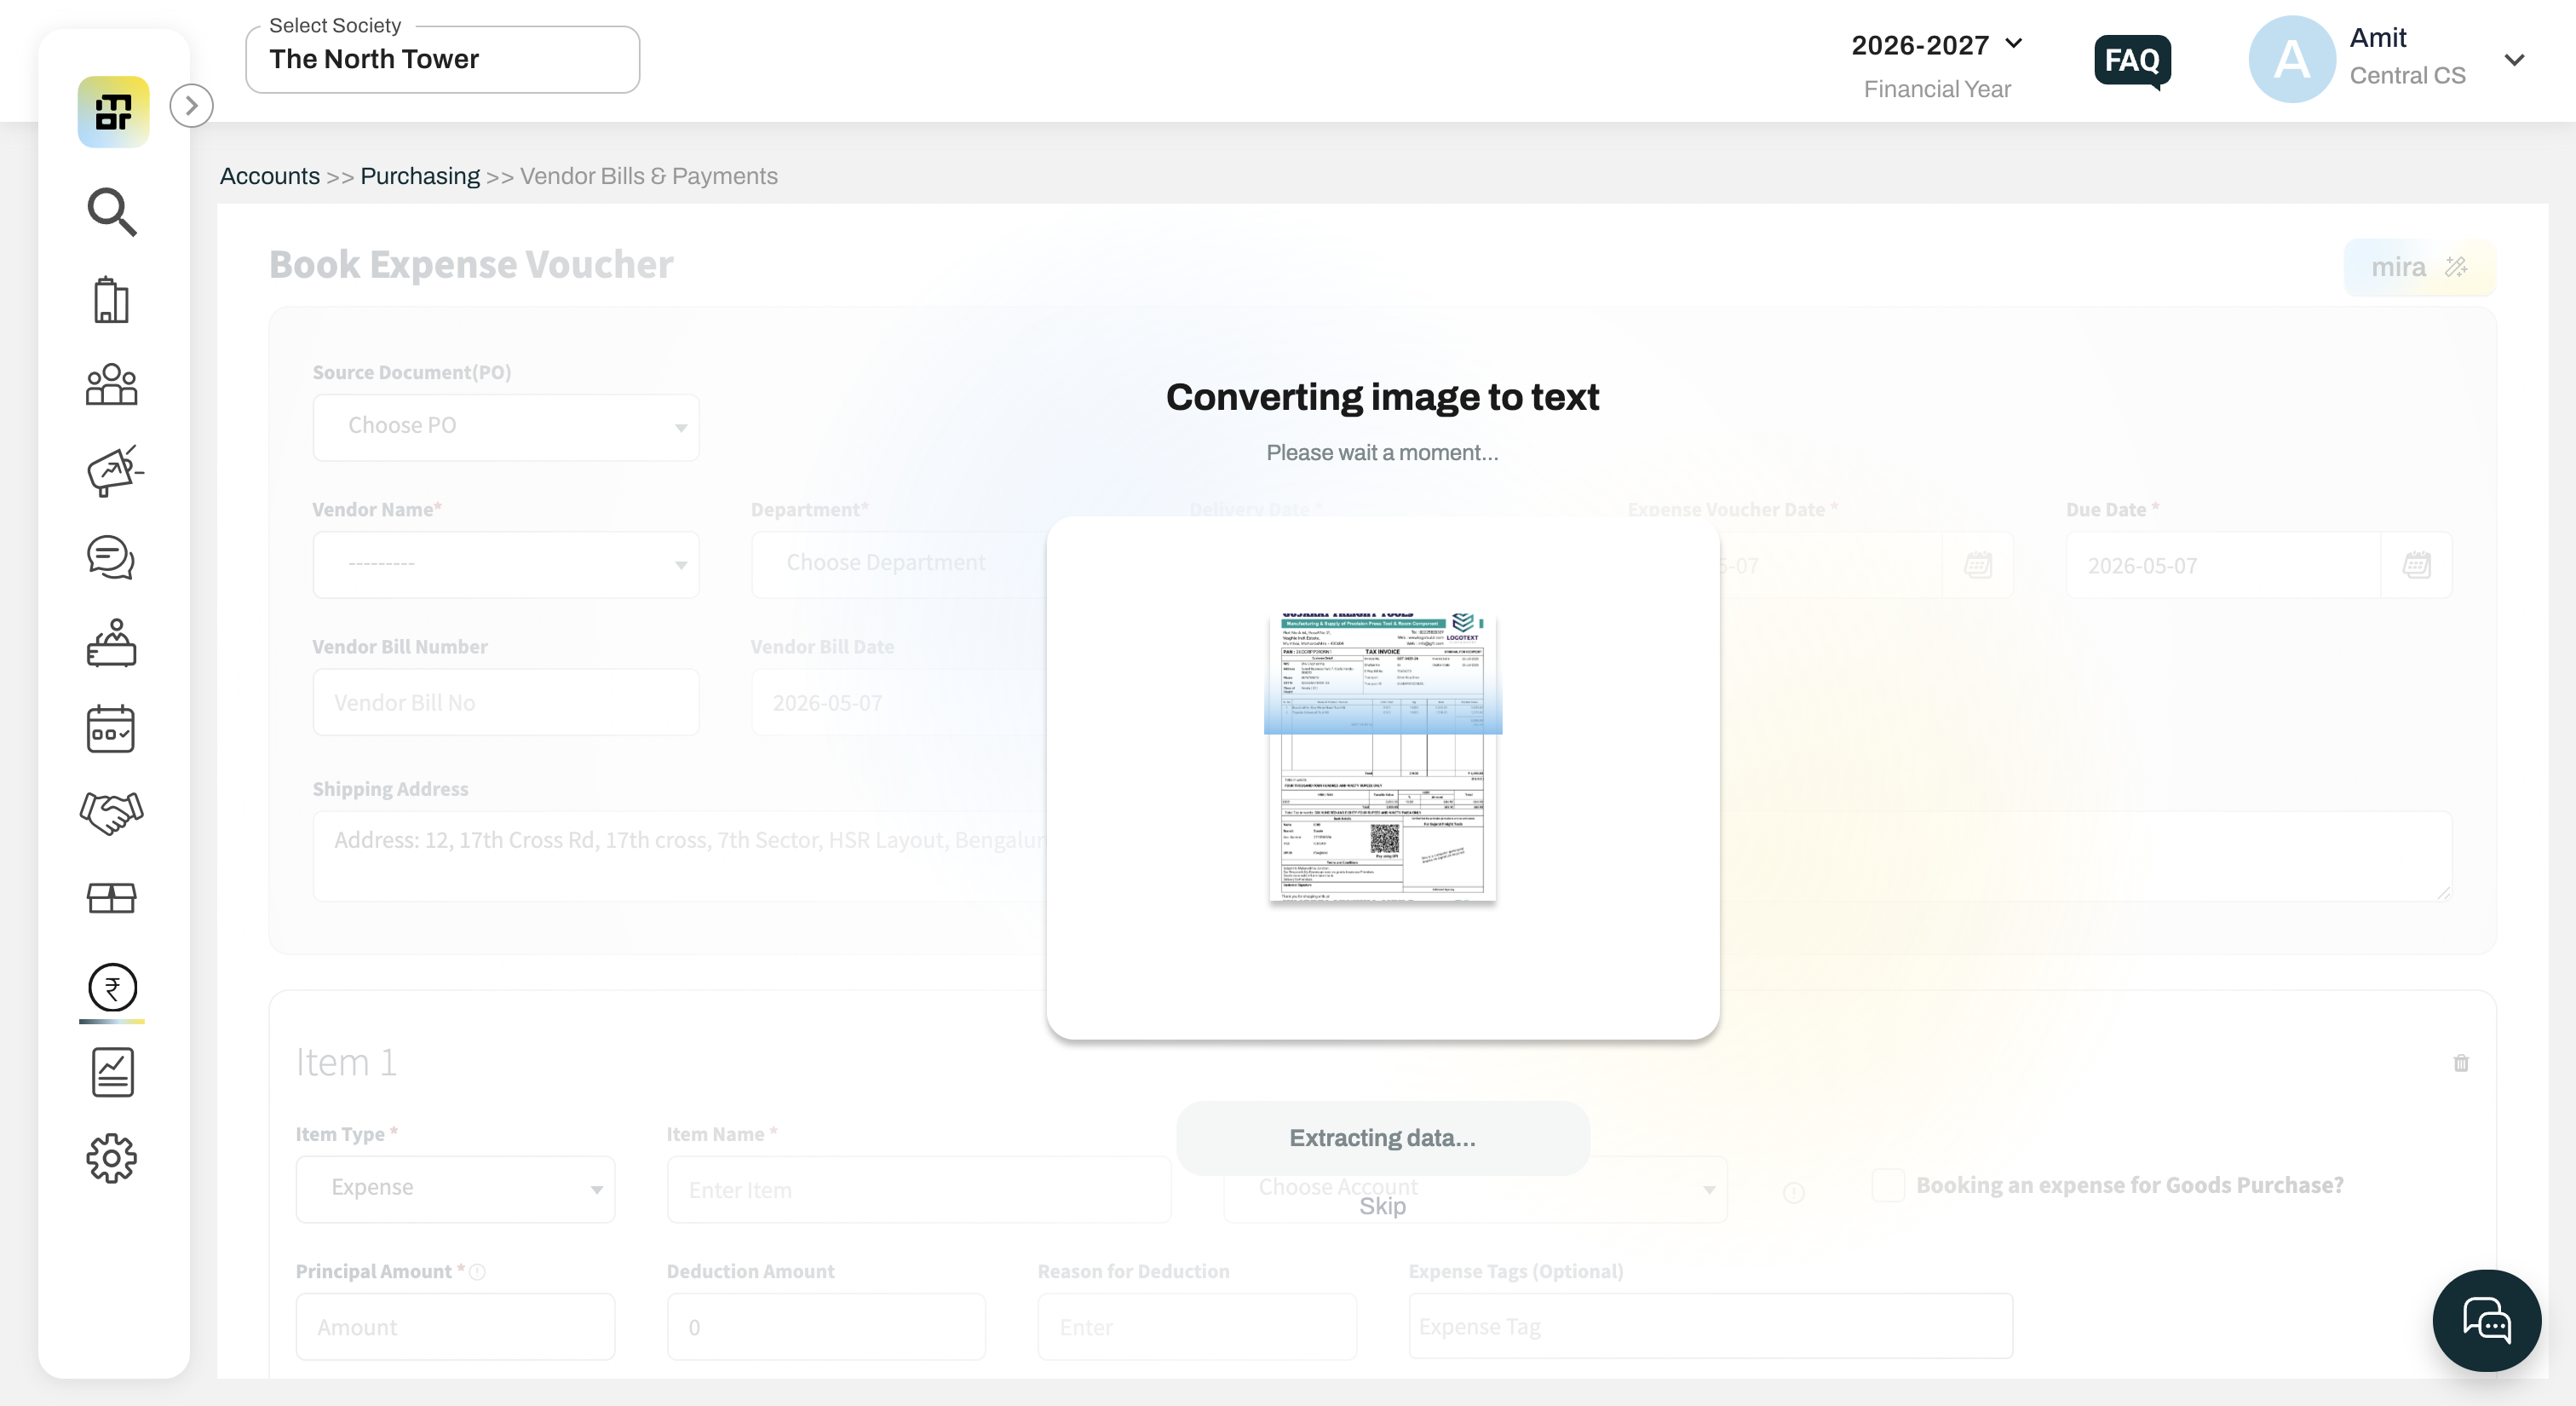
Allow Mira AI to extract the details.
Review and edit the extracted information if required.
Click Submit to create the vendor bill.
3. What information does AI extract?
Mira AI can extract:
Vendor Details
Vendor Name
GST Number
Shipping Address
Invoice Details
Vendor Bill Number
Vendor Bill Date
Delivery Date
Due Date
Invoice Total
Item Details
Item Description
HSN Code
Quantity
Rate
Principal Amount
GST Type
GST Rate
GST Amount
4. How does vendor matching work?
Mira AI checks the extracted vendor details against vendors available in the dashboard.
Exact Match: Vendor is automatically selected.
Partial/GST Match: Vendor is suggested.
No Match: Vendor needs to be selected manually.
5. Can I edit the information extracted by AI?
Yes. You can review and manually edit any extracted information before submitting the vendor bill.
6. What happens if the AI extraction is incorrect?
You can either manually correct the extracted details or use the Re-upload option to upload a new document and run the extraction again.
7. What if AI extracts only some of the information?
The available information will be pre-filled. You can manually enter the remaining details.
8. What if AI cannot extract any information?
You can continue with the normal manual vendor bill entry process.
9. Can I upload multiple vendor bills together?
No. The AI flow processes the uploaded vendor bill document for the current entry.
10. How does AI identify Goods Purchase?
The system checks the HSN code of the extracted item.
If the HSN/SAC starts with 99, the Goods Purchase option will be disabled.
For other HSN/SAC codes, the Goods Purchase option will be enabled.
11. Can I change the GST or HSN/SAC details extracted by AI?
Yes. GST and HSN/SAC details can be reviewed and manually corrected before submitting the bill.
12. Is the uploaded vendor bill saved with the transaction?
Yes. The uploaded document is automatically attached to the created vendor bill for future reference.
13. What happens if multiple vendors match the extracted details?
The system will not automatically select a vendor. You will need to manually select the correct vendor.
14. Do I need to verify the AI-extracted details?
Yes. Always review the extracted information and make any required corrections before submitting the vendor bill.
15. Who can access this feature?
The feature is currently available to select societies as part of a limited beta release.
Additional Notes:
This feature is available only to select societies as part of a limited beta release.
While this is a paid feature, it is being provided free of charge during the beta period.